No-Fear Vegan Stevia Banana Bread
Running fuel is defined by how much energy it packs—usually in the form of sugars. Quick acting sugars for an immediate boost, and slower-burning sugars to keep you going.
For times like these when you’re just sitting around, pro triathlete Brendan Brazier recommends swapping the agave for stevia. And he’s right—stevia is a great idea. There’s no sucrose to cause an unnecessary spike in blood sugar, and no extra fructose hanging around to process into triglycerides.
So why, then, is there a very full jar of stevia staring me down from my pantry?
Three Hurdles of Baking with Stevia
Three things always intimidate me about using stevia. Let’s address each one head on, in hopes of making the stevia universe a heck of a lot less mysterious!
1. How much stevia to use
I am only going to say this once: Do not follow the conversion chart on the back of the jar. Repeat: Do. Not. Follow. Chart. (Ok, that’s twice I said it, but it’s that important!) Since there’s no standard potency from brand to brand or from liquids to powders, it’s up to you to use just as much stevia as you need.
Most of the time, the amount I am happy with is a 3 times less than what the chart recommends. The best idea is to start with just a little—like 1/8 to a 1/4 teaspoon—and take it from there. There are no eggs to worry about in the recipe below, so in this case you can taste as you go.
2. Keep it from tasting bitter
In The Kind Diet (Amazon affiliate link), the biggest complaint Alicia Silverstone has about stevia is the taste. Somehow, it’s so sweet that it ends up tasting bitter and harsh. I prefer the less concentrated stevia that is mixed with the natural fiber inulin, like Sweetleaf SteviaPlus. My solution to take the bitter edge off (besides not using too much, see #1) is choosing complementary flavors.
In the recipe below, the stevia enhances the natural sweetness of the coconut milk and coconut flakes for a much warmer flavor. It’s also good paired with orange juice, like in my Orange Currant Brunch cake. If nothing in the recipe has a sweet profile, I suggest adding just a tablespoon or two of maple syrup.
3. Fill the gap
When you take the sugar, agave, or dates out of your recipe, it’s important account for the volume of what’s missing. In this recipe, the bananas work double-duty: first for flavor, and second for bulk. Another great filler is cooked and pureed cauliflower, which has a creamy neutral flavor. About a half cup of “filler” works in a standard size recipe.
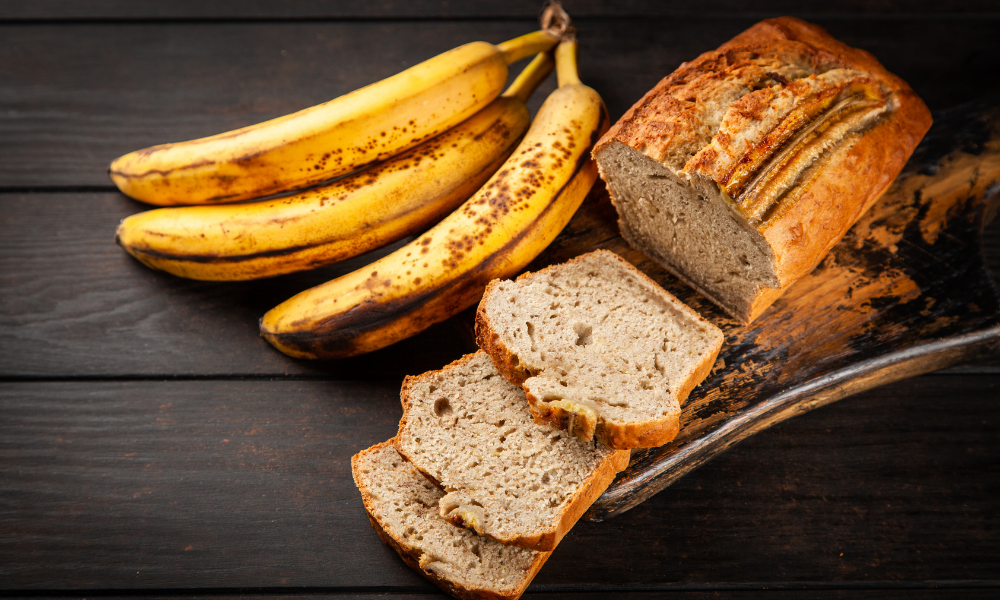
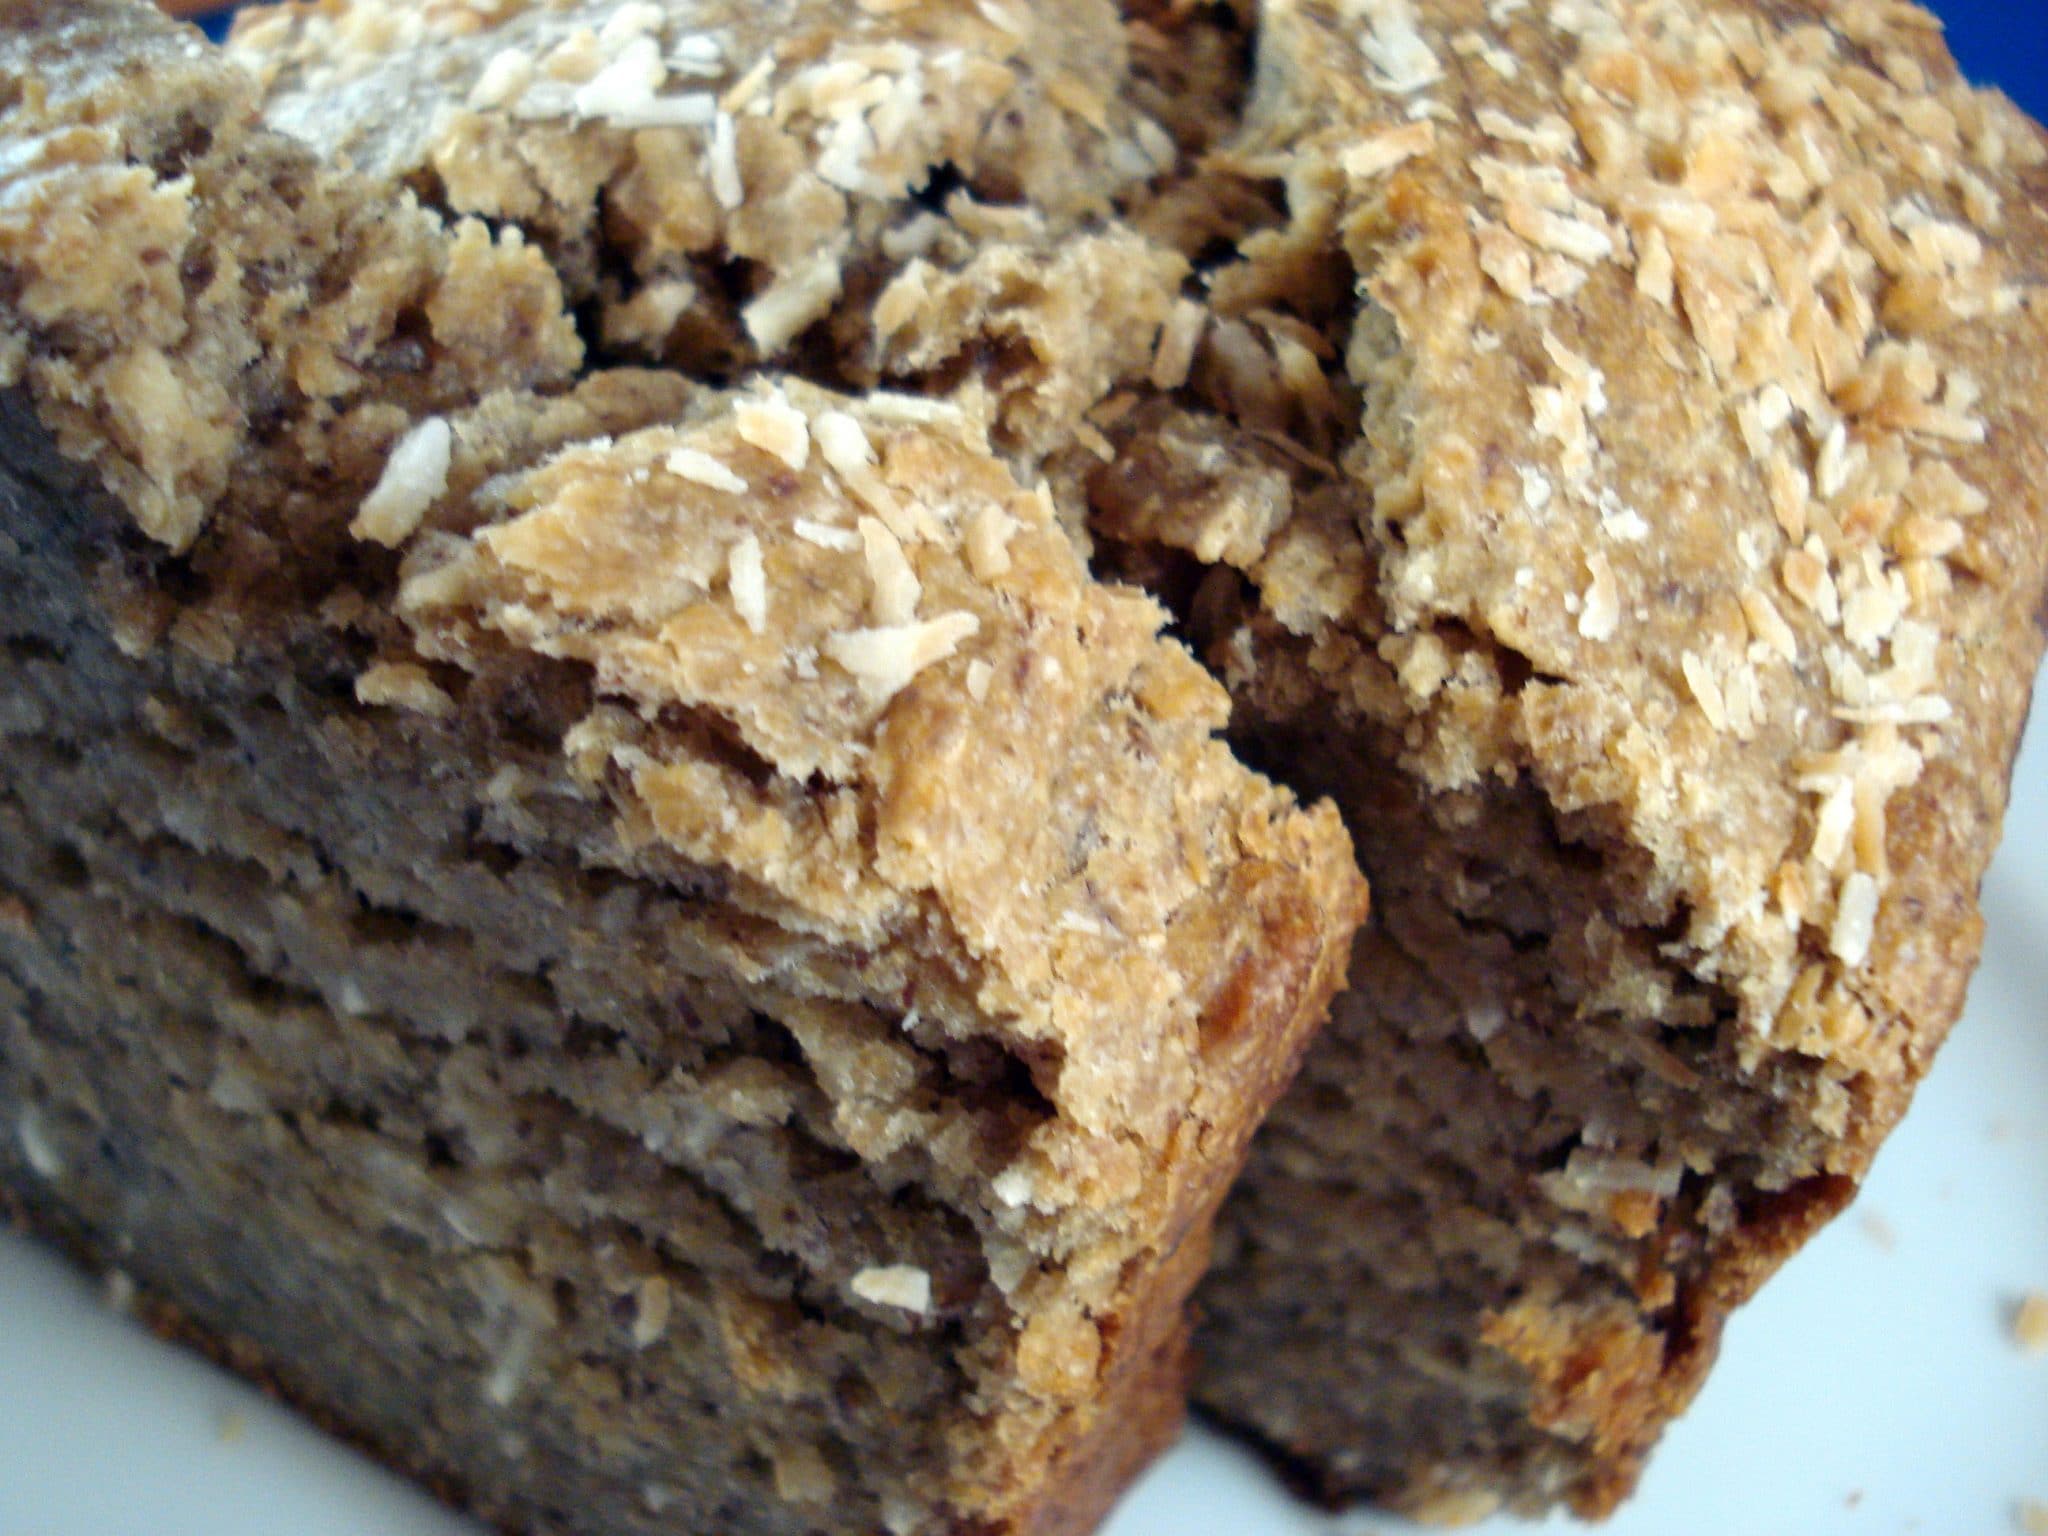
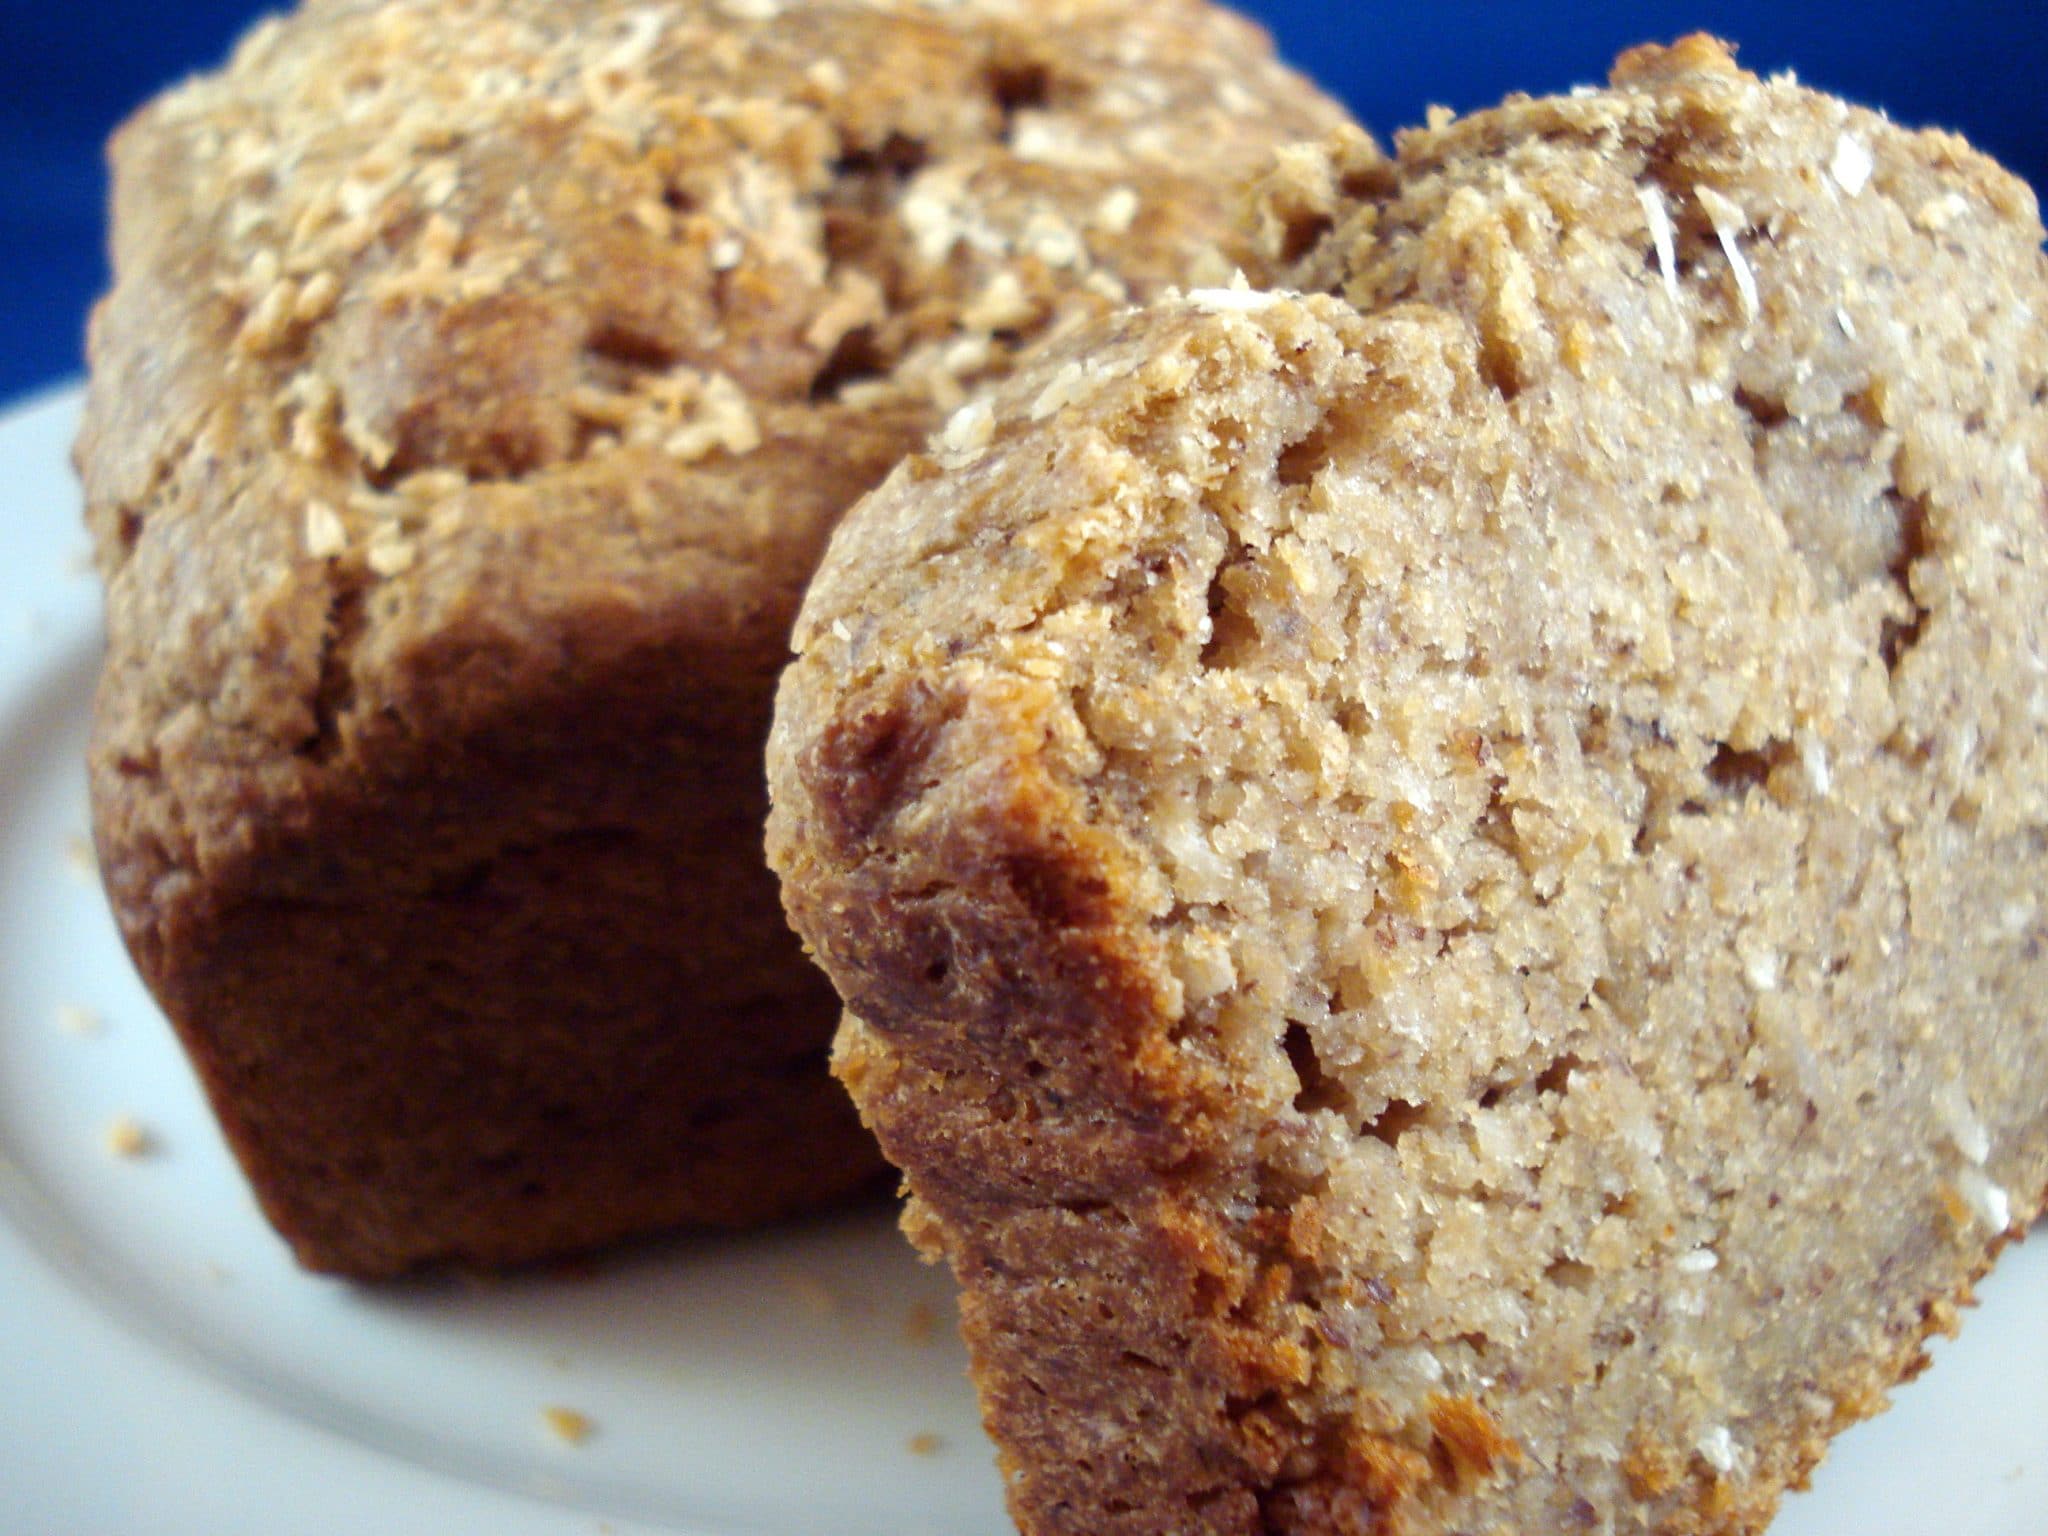
So now there’s nothing left to be afraid of with stevia! I hope you try my recipe for Coconut Banana Bread for sweet snacking anytime, and let me know what you think.
Vegan Coconut Banana Bread
- 1/3 cup coconut oil
- 1 tsp stevia (I used SweetLeaf SteviaPlus)
- 3/4 cup coconut milk
- 1/4 cup ground flaxseed
- 4 ripe bananas
- 2 tsp vanilla extract
- 2 tbsp fresh lime juice
- 1 tsp baking soda
- 1 tsp salt
- 2 cups whole wheat pastry flour
- 1/2 cup + 2 tbsp shredded unsweetened coconut (reserve 2 tbsp for topping)
- Preheat oven to 350 degrees. Line a 8×4 loaf pan with parchment paper and grease lightly with baking spray.
- In the bowl of a standing mixer, combine the oil, stevia, coconut milk, flaxseed, bananas, vanilla, and lime juice. Beat until bananas are mashed and mixture is smooth.
- In a seperate bowl, mix together the baking soda, salt, flour, and 1/2 cup of coconut. Add dry ingredients to banana mixture, scraping down the sides and bottom of bowl to incorporate.
- Spread batter into prepared loaf pan, and bake 20 minutes. Carefully remove pan from oven and sprinkle with the reserved 2 tablespoons of coconut. Return to oven and bake 40-50 minutes more, until a knife inserted in the center comes out clean. If the coconut topping browns to quickly, tent the banana bread loosely with aluminum foil. Let cool before removing from pan.


